Solar Panel Installation – Step-By-Step
Renewable energy is the way of the future which is why more and more homeowners are installing solar panels. Not only is installing solar panels the single most effective way to reduce your carbon footprint, it will also help to reduce your monthly power bill as you will be generating your own power and drawing less from the grid.
When installing solar panels, it’s important to do your research and thoroughly plan the installation process to ensure that your panels and property are not damaged during installation. Read on for our step-by-step guide to installing solar panels.
Choose Location
The first step to solar panel installation is choosing the right location. The pitch and direction of your roof can significantly affect the efficiency of your solar panels so it is always a good idea to get the opinion of a professional. Just because one area of your rooftop or property receives a lot of sunlight, it does not necessarily mean that this is the best location for your solar panels.
If you’re not sure where the best installation location for your solar panels is talk to your solar supplier for expert advice.
Prepare For Installation
Before the solar panels can be installed your will also need to prepare the area for installation. This typically means the installation of a platform or mounts for the solar panel to sit on. The platform or mounting system should be constructed with the size of your chosen solar panels in mind to ensure that they will fit.
Additionally, the mounting system will be outdoors, so it needs to be able to withstand inclement weather. For this reason, a solar panel platform is often constructed from sturdy metal or aluminium rails. This process should be carried out by a professional to ensure that the mount is structurally sound, preventing damage to your home and solar panels.
Crane In Solar Panels

Once your platform is securely installed on the roof, it’s time to install the solar panels. Solar panels are expensive and heavy, so it’s vital to take care during the installation process not to damage the panels themselves, as well as the roof of the house where the panels will be installed.
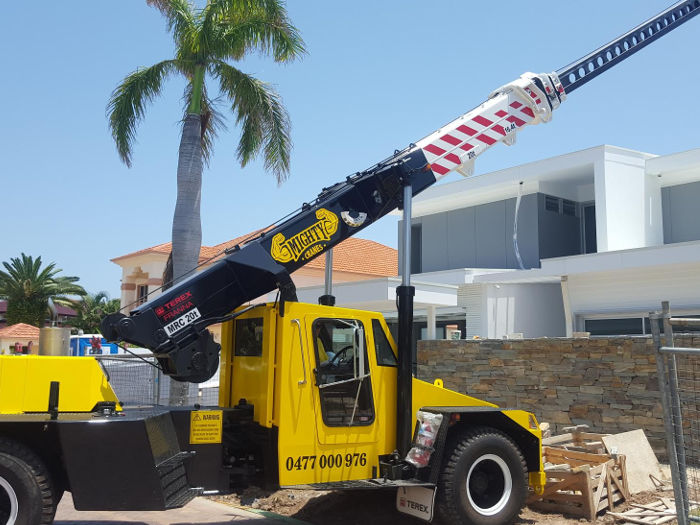
Hiring a mobile crane to lift in your solar panels will help to reduce the risk of any accidents or damage during the installation process. Mobile cranes are equipped to easily manage the weight of a solar panel while providing a precise lift with millimetre accuracy. Once the panels are lifted into place they will need to be secured to the mounting system or platform using brackets, bolts, or clamps.
For reliable crane hire for solar panel installations look no further than Mighty Cranes. We offer affordable mobile crane hire Brisbane wide for both commercial and residential projects. Call us today on 0477 000 976 for a free quote.
Connect Electrical Wiring & Connect To The Grid
Once the solar panels are securely mounted to the roof, your solar panel installer will connect the electrical wiring to get your new solar powered energy system up and running. This step should only be carried out by a qualified technician to avoid injury and damage to the system.
At this point, all that’s left to do is connect to the grid. You will need to apply for approval from your electricity distributor to connect to the grid. Note: this should be lodged and approved before the solar system is installed. This form is usually lodged by your solar power installer.
Reap The Benefits Of Solar Power
Now that your solar panels are safely installed, connected, and hooked up to the grid, you can just sit back and reap the benefits and savings of your new solar power system.


